
Installation
Tool checklist and installation workflow
Quick Compatibility Check
Confirm your frame meets the installation requirements
Installation Overview
Prep & Pre-Check
Gather tools and parts, charge the rear derailleur battery, and set up your workspace.
- ✓ Battery charge check
- ✓ Tool inventory
- ✓ Workspace setup
Power Prep (Priority)
Before starting, charge the rear derailleur battery and confirm the shifter batteries are healthy.
Workspace
Choose a spacious, well-lit, clean indoor area. Hydraulic systems are extremely sensitive to dust—keep your work surface as clean as possible.
Stable Support
We recommend using a bike repair stand to suspend the bike, keeping wheels and the drivetrain free for shifting and brake adjustments.
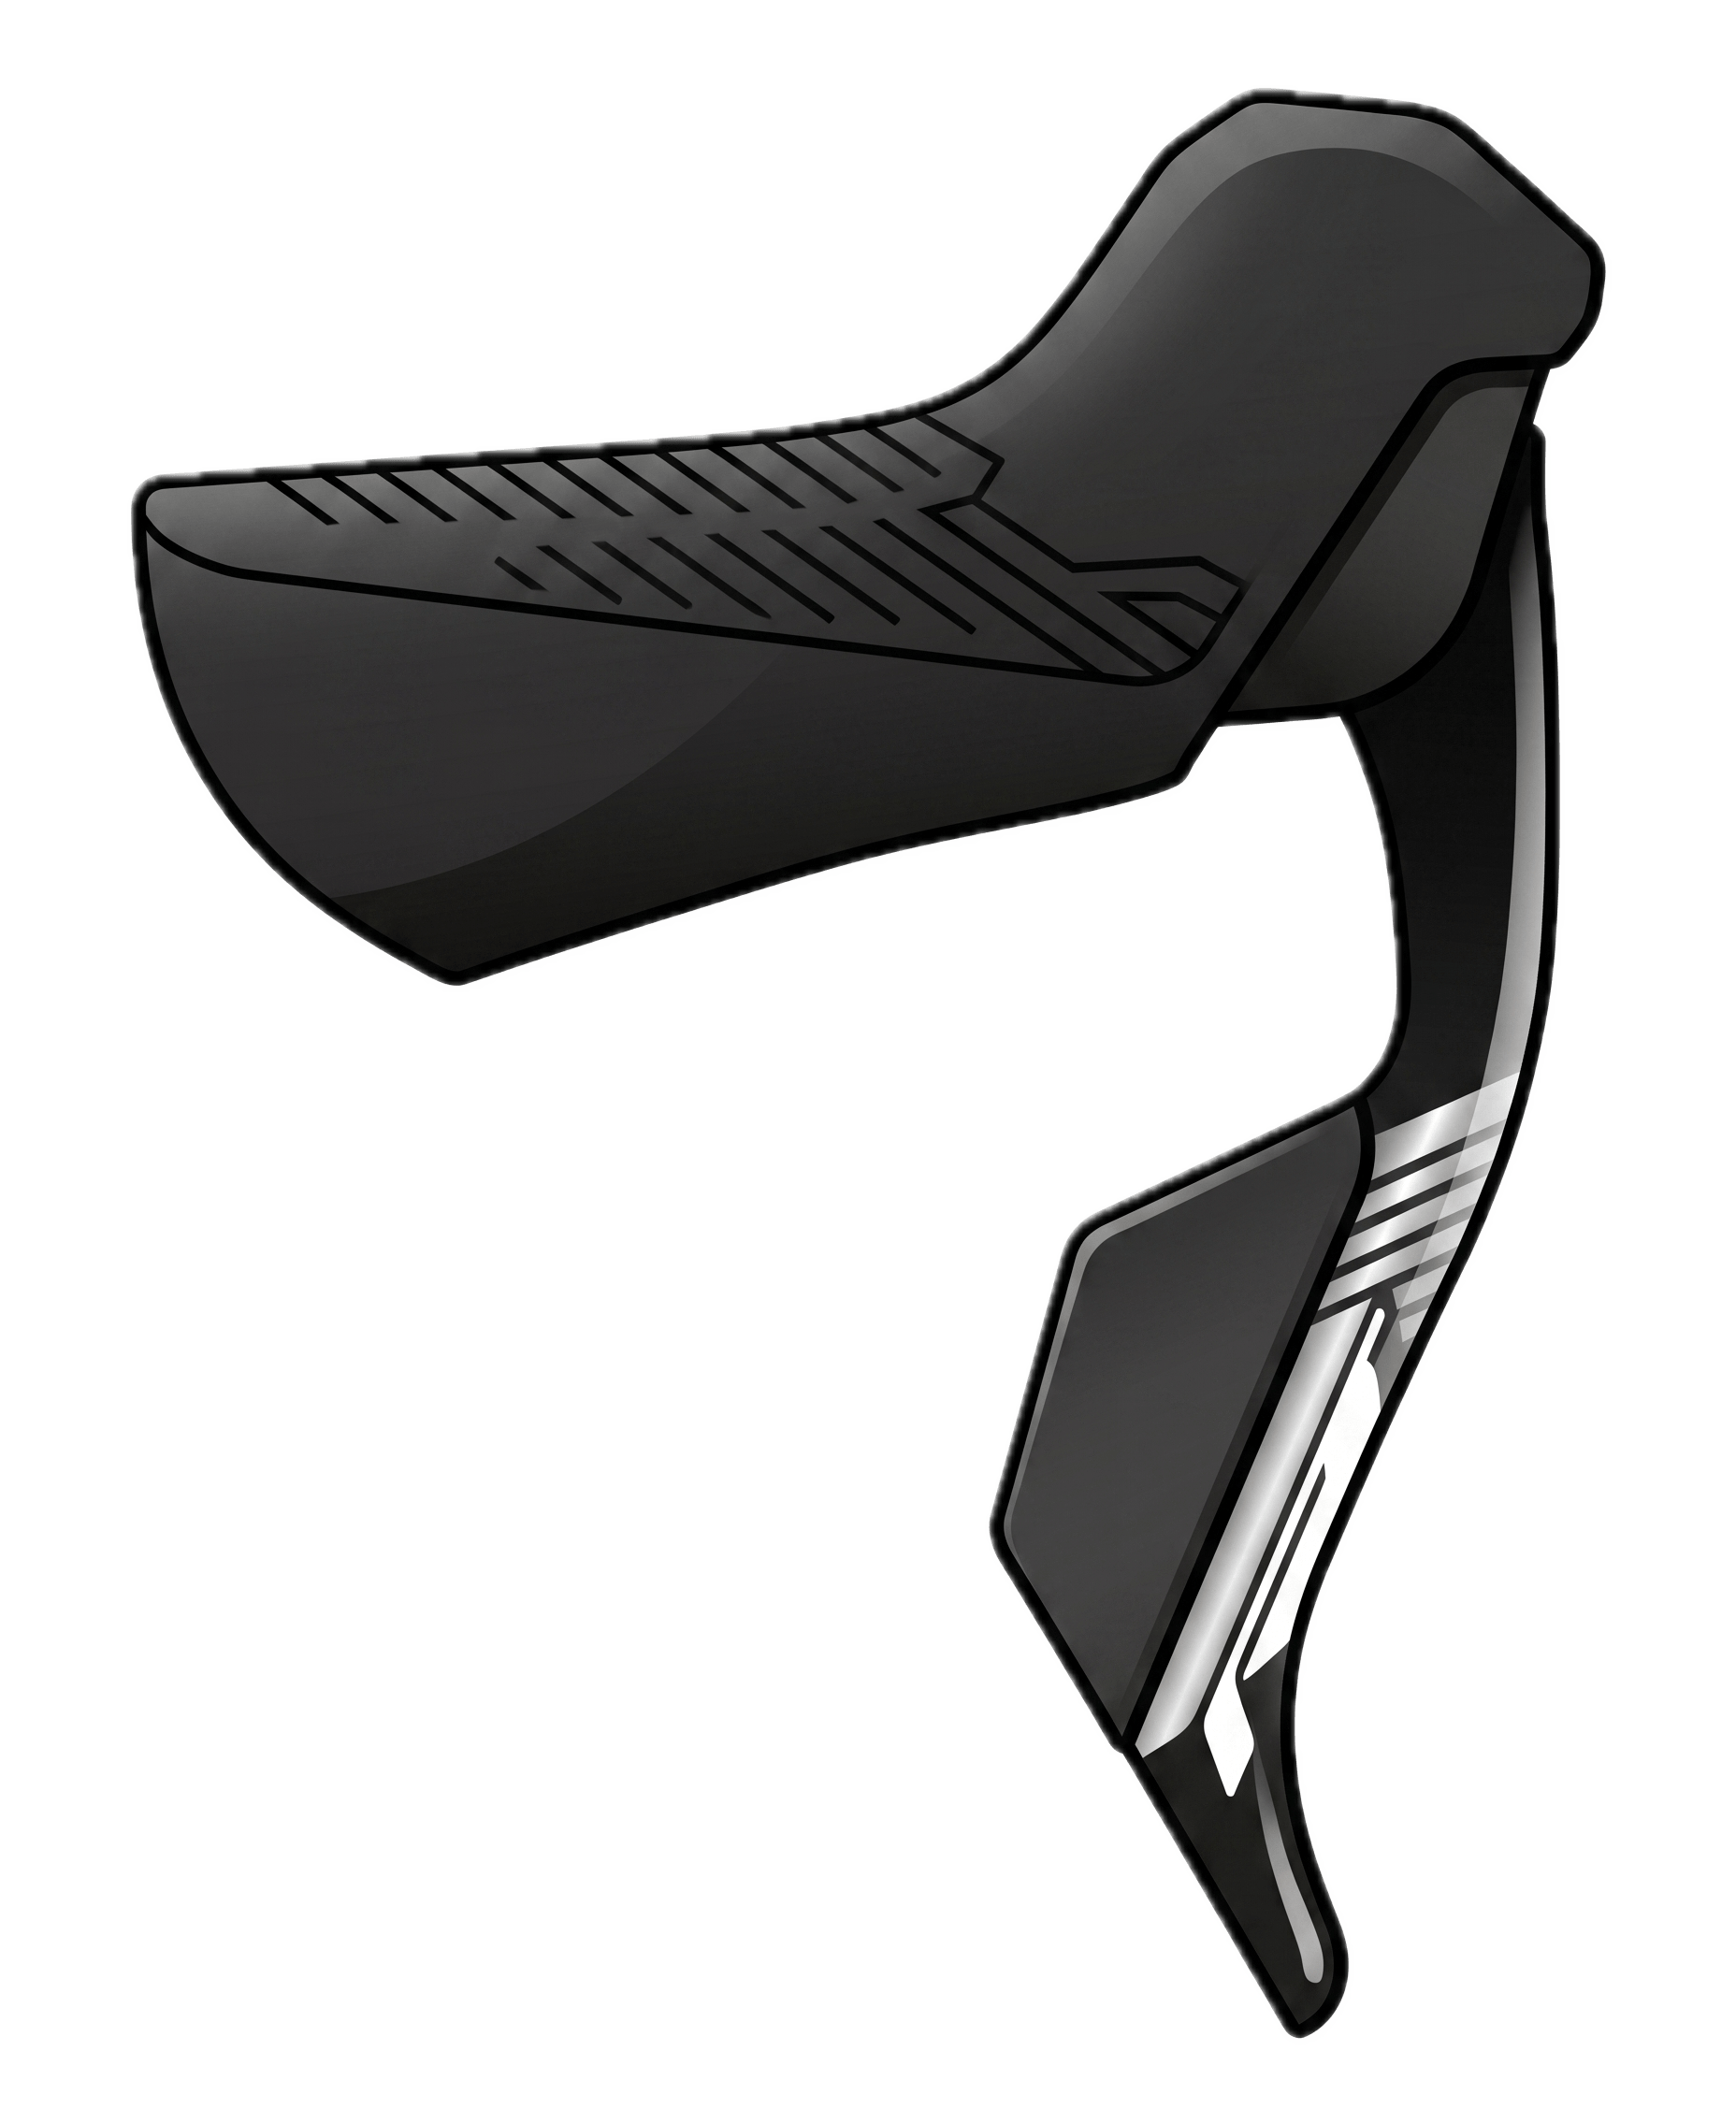
Cockpit & Brake System
Install levers and calipers, route hoses internally, cut to length, and connect.
- ✓ Lever install
- ✓ Caliper install
- ✓ Hose connection
Install Brake Calipers
- Based on frame specs (flat-mount/post-mount) and rotor size, select the correct adapter.
- Use a 4 mm hex key to pre-install the caliper. Tighten bolts loosely so the caliper can move slightly for alignment.
- Keep the plastic pad spacer inside the caliper to prevent pistons from popping out if the lever is squeezed accidentally.
Never squeeze the lever dry: pressing the brake lever without a rotor or pad spacer installed will over-extend the pistons, causing leaks or failure to retract.
Hose Connection Essentials
- Measure: Turn the handlebar to its extreme positions and leave enough hose length.
- Cut square: Use a dedicated hose cutter. Scissors are strictly prohibited.
- Insert barb: Use a dedicated hose barb press tool and press vertically until fully seated.
- Tighten: Use an 8 mm open-end wrench, torque approximately 8 N·m.
Rear Derailleur & Pairing
Mount the rear derailleur, complete wireless pairing, and confirm motor response.
- ✓ Compatibility check
- ✓ Rear derailleur install
- ✓ System pairing
Critical Compatibility Check
| Cassette System | Required Conditions |
|---|---|
| 14-speed | UDH hanger + RC≥415 mm + 11-speed SH freehub |
| 13-speed | RC≥415 mm + 11-speed SH freehub |
Mount the Electronic Rear Derailleur
- Check that the hanger is straight—use a hanger alignment gauge if possible.
- Apply grease to the rear derailleur mounting bolt threads.
- Thread in with a 5 mm hex key, then tighten with a torque wrench to 12 N·m.
Do not overtighten—excessive torque can strip the threads on an alloy hanger.
System Pairing Steps
✓ Pre-paired at factory — Your R7 shifters and rear derailleur are already paired out of the box. Use the WHALEROAD app only if you need to add or re-pair components.
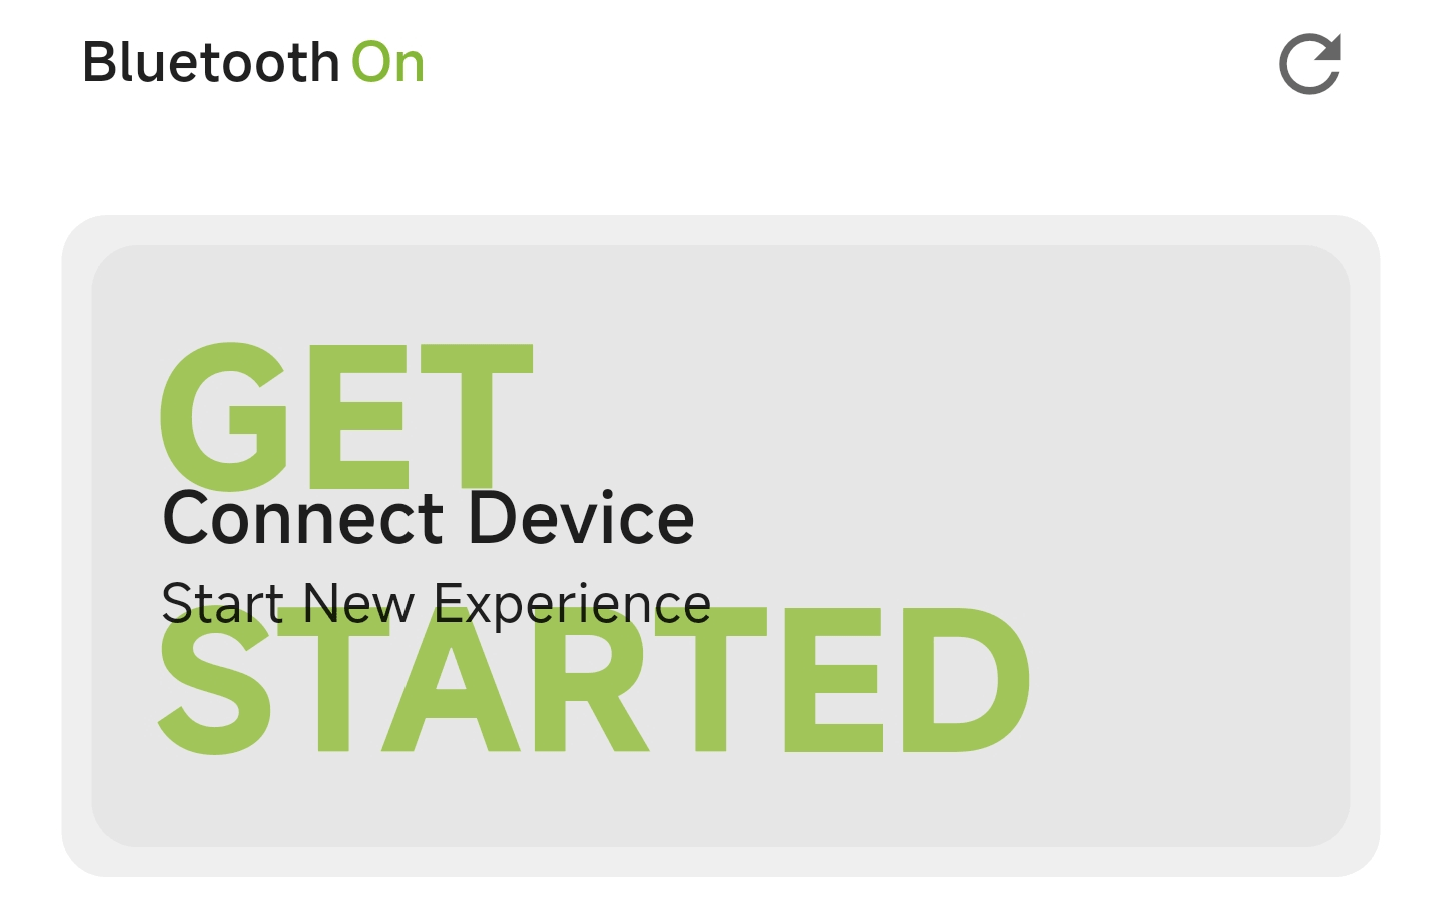
Open the WHALEROAD app, tap Get Started, and make sure your phone's Bluetooth is on.
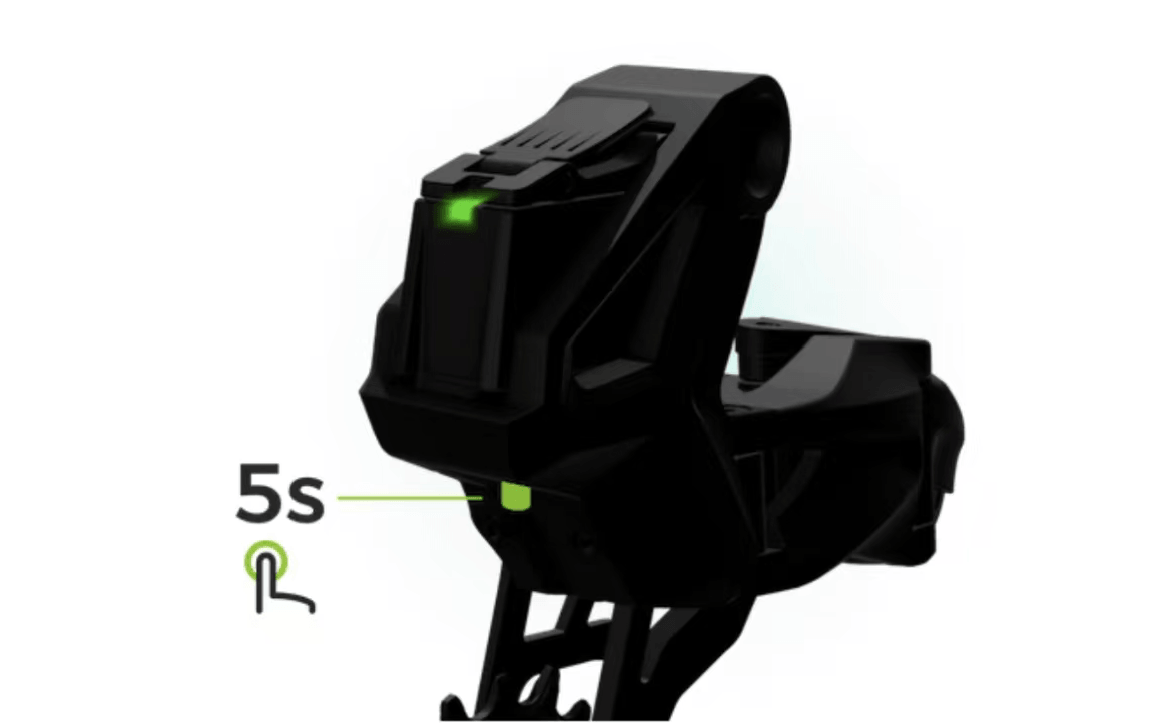
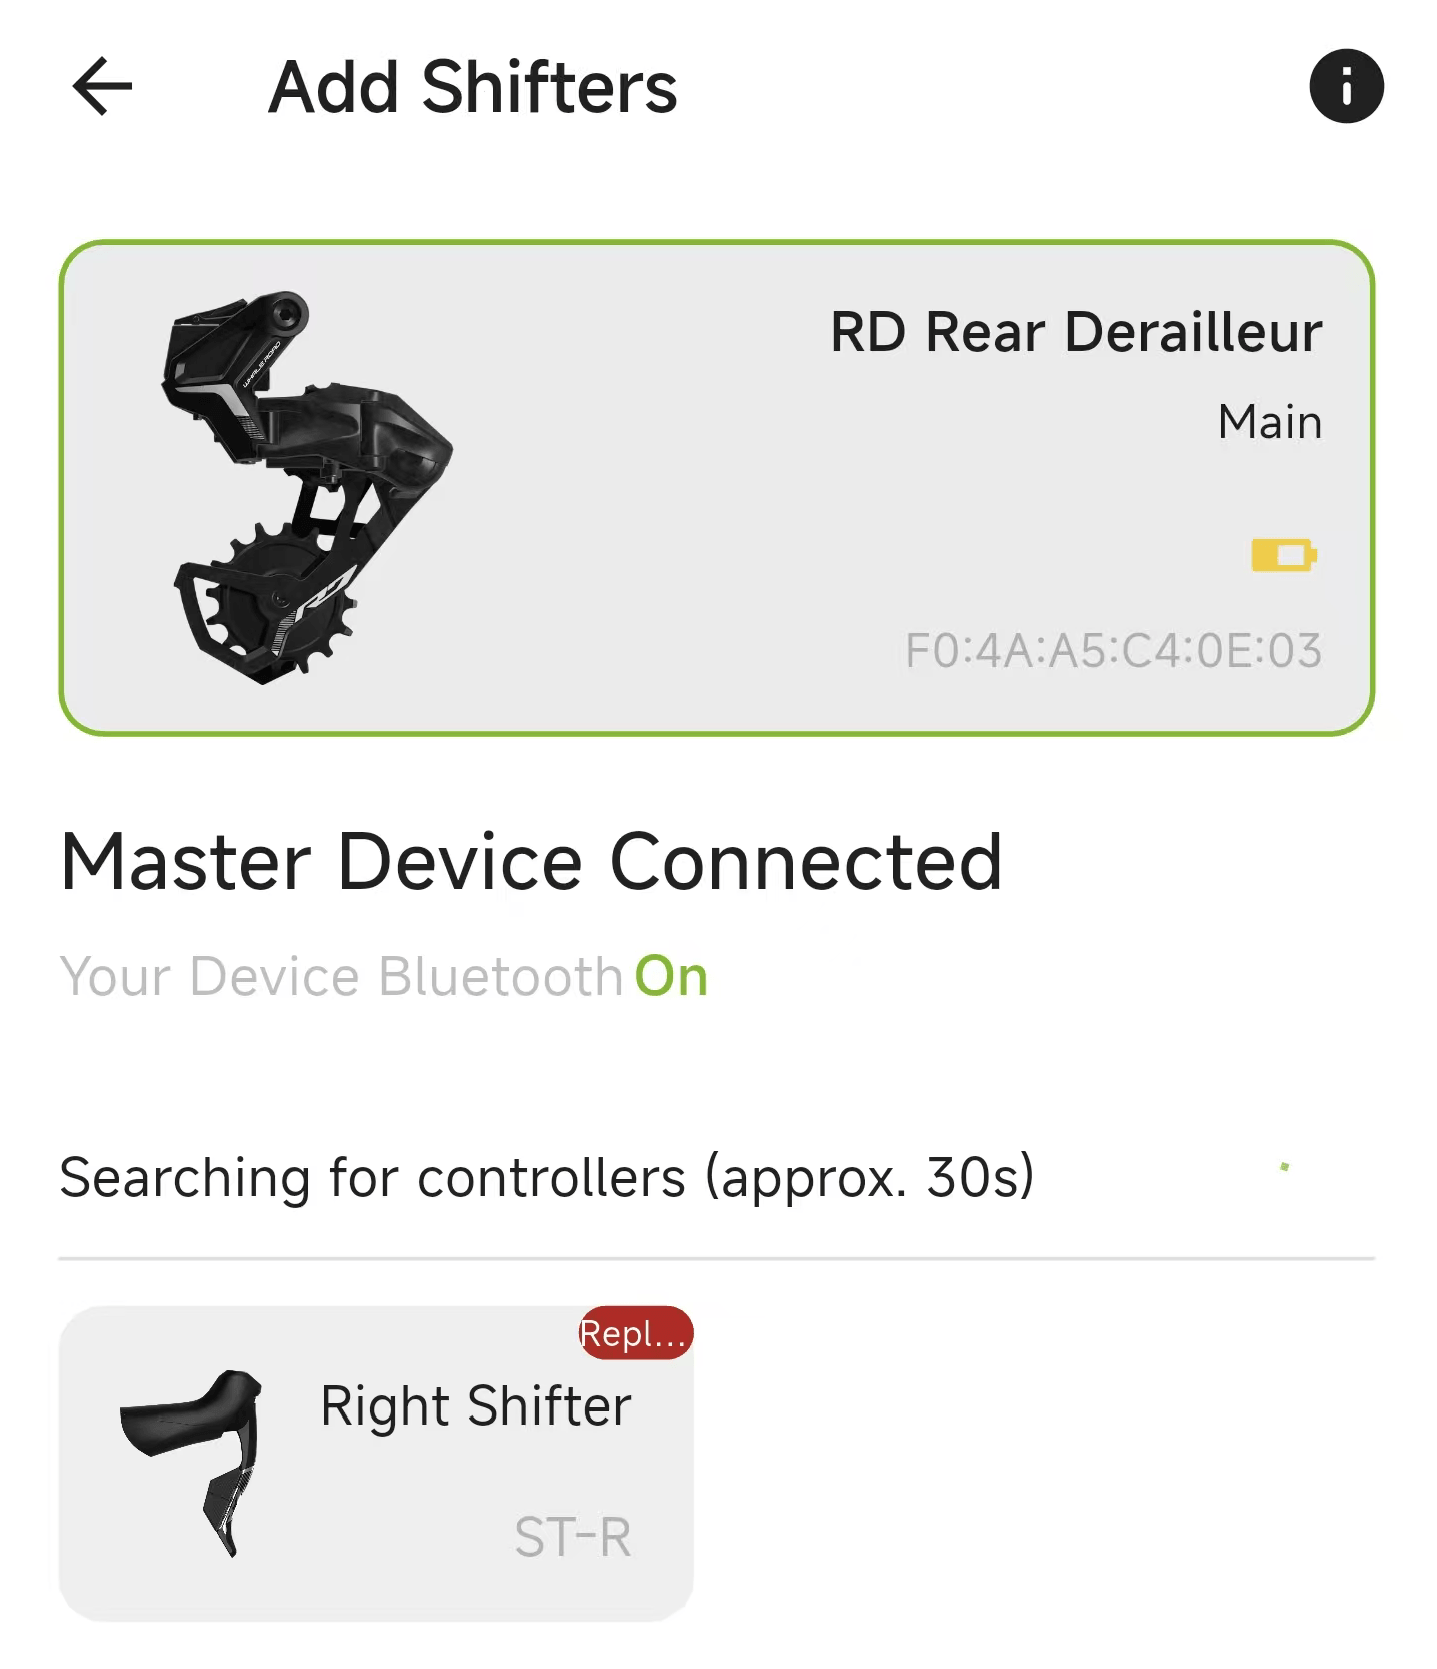
Long-press the rear derailleur function button for 5 seconds until the LED flashes green. The app will auto-detect it — confirm to connect.
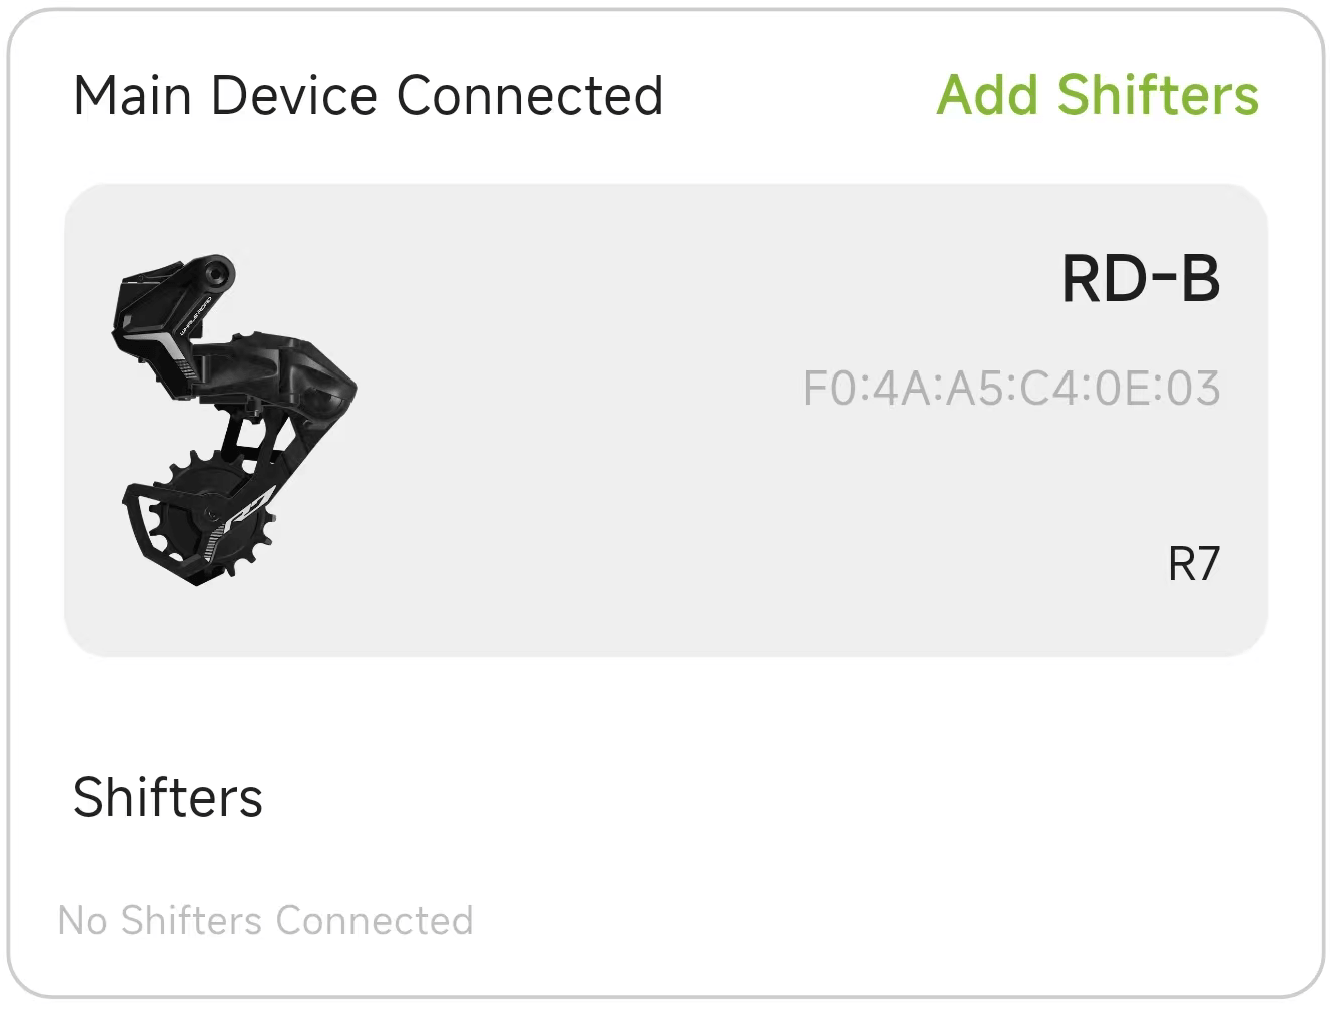
In the app, go to Manage Device and select Add Shifters.
Long-press a shifter function button for 5 seconds until the LED flashes green. The app will auto-detect it — confirm to connect. Repeat for the second shifter.
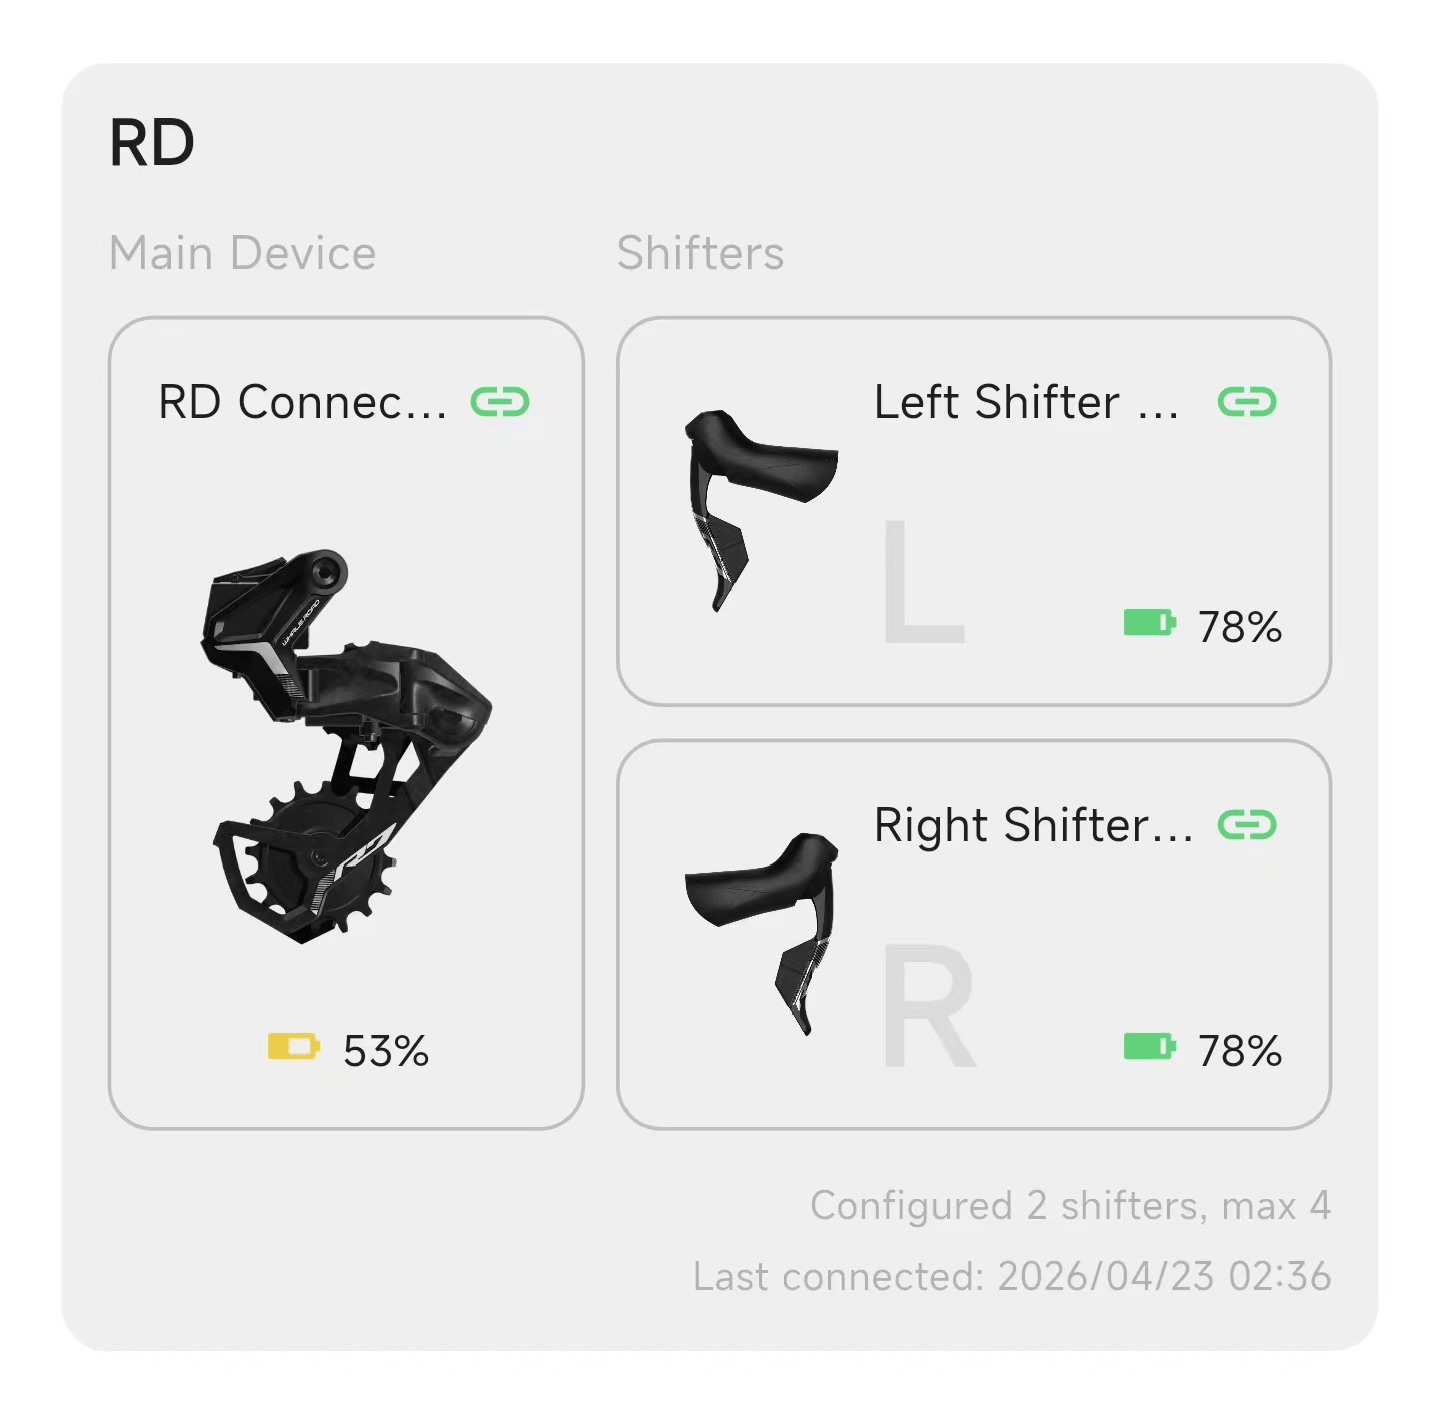
Verify that the app shows all components as connected. Press a shifter button to confirm the derailleur shifts. Pairing complete.
Drivetrain Assembly
Install the bottom bracket, crankset, cassette, and wheels, then connect the chain.
- ✓ Bottom bracket install
- ✓ Crankset install
- ✓ Chain connection
Install Bottom Bracket & Crankset
- Clean the bottom bracket threads/shell faces and apply grease.
- For threaded types, mind the left/right thread direction. For press-fit, use the correct press tool—never hammer.
- Crankset main bolt torque: 40–50 N·m.
- Adjust the preload collar to remove play, then tighten the pinch bolt(s).
Chain Installation Key Points
- Use a chain tool compatible with 13/14-speed chains.
- Set chain length based on the rear derailleur position (big-big + 2 links method).
- Use a quick-link pliers or compatible tool to install the chain.
Tuning & Final Check
Adjust limit screws, perform a full-bike torque review, and run function tests.
- ✓ H/L/B adjustment
- ✓ Torque review
- ✓ Function test
Shifting Tune
Adjust limit screws and electronic micro-tuning. See the Tuning chapter for details.
Full-Bike Torque Review
| Component | Torque |
|---|---|
| Shifter clamp | 6–8 N·m |
| Rear derailleur mount | 12 N·m |
| Crank spindle | 40–50 N·m |
| Hose olive nut | 8 N·m |
Tools & Supplies
Hex Key Set
2 / 2.5 / 3 / 4 / 5 / 6 / 8 mm
EssentialTorque Wrench
Range 2–20 N·m
EssentialTorx Key Set
T10 / T25 / T30
EssentialBleed Kit
Funnel + syringe + hoses
EssentialOpen-End Wrench
8 mm
EssentialHose Cutter
Dedicated cutter
EssentialBarb Press Tool
Dedicated press
EssentialBottom Bracket Tool
Match frame BB standard
EssentialCassette Lockring Tool
Standard splined type
EssentialChain Tool
13/14-speed compatible
EssentialQuick-Link Pliers
Universal type
RecommendedSafety Gear
Nitrile gloves + safety glasses
EssentialMineral Brake Fluid
Compatible mineral oil (no DOT)
EssentialAssembly Paste
For carbon contact surfaces
Recommended| Category | Tool Name | Recommended Spec | Purpose | Priority |
|---|---|---|---|---|
| General | Hex key set | 2–8 mm | Most frame bolts | Essential |
| Torque wrench | 2–20 N·m | Precise tightening control | Essential | |
| Torx keys | T10 / T25 / T30 | Rotor and bleed-port screws | Essential | |
| Screwdrivers | Phillips / flat | Adjusting limit screws | Essential | |
| Hydraulic Disc | Bleed kit | Funnel + syringe + hoses | Bleeding and purging air | Essential |
| Open-end wrench | 8 mm | Tightening hose olive nut | Essential | |
| Hose cutter | Dedicated cutter | Clean, square cuts | Essential | |
| Barb press tool | Dedicated press | Pressing barb into hose | Essential | |
| Piston reset tool | Flat screwdriver substitute | Resetting pistons after pad swap | Recommended | |
| Drivetrain | Bottom bracket tool | Match BB standard | Installing bottom bracket | Essential |
| Cassette lockring tool | Standard splined | Installing cassette | Essential | |
| Chain whip | Chain whip | Holding cassette during removal | Essential | |
| Chain tool | 13/14-speed compatible | Cutting chain to length | Essential | |
| Quick-link pliers | Universal type | Opening/closing quick link | Recommended | |
| Consumables | Safety gear | Gloves + glasses | Protection from mineral oil | Essential |
| Mineral brake fluid | Compatible mineral oil | For brake system | Essential | |
| Assembly paste | Carbon-specific | Carbon contact surfaces | Recommended |
Pairing Visual Guide
Status: Not started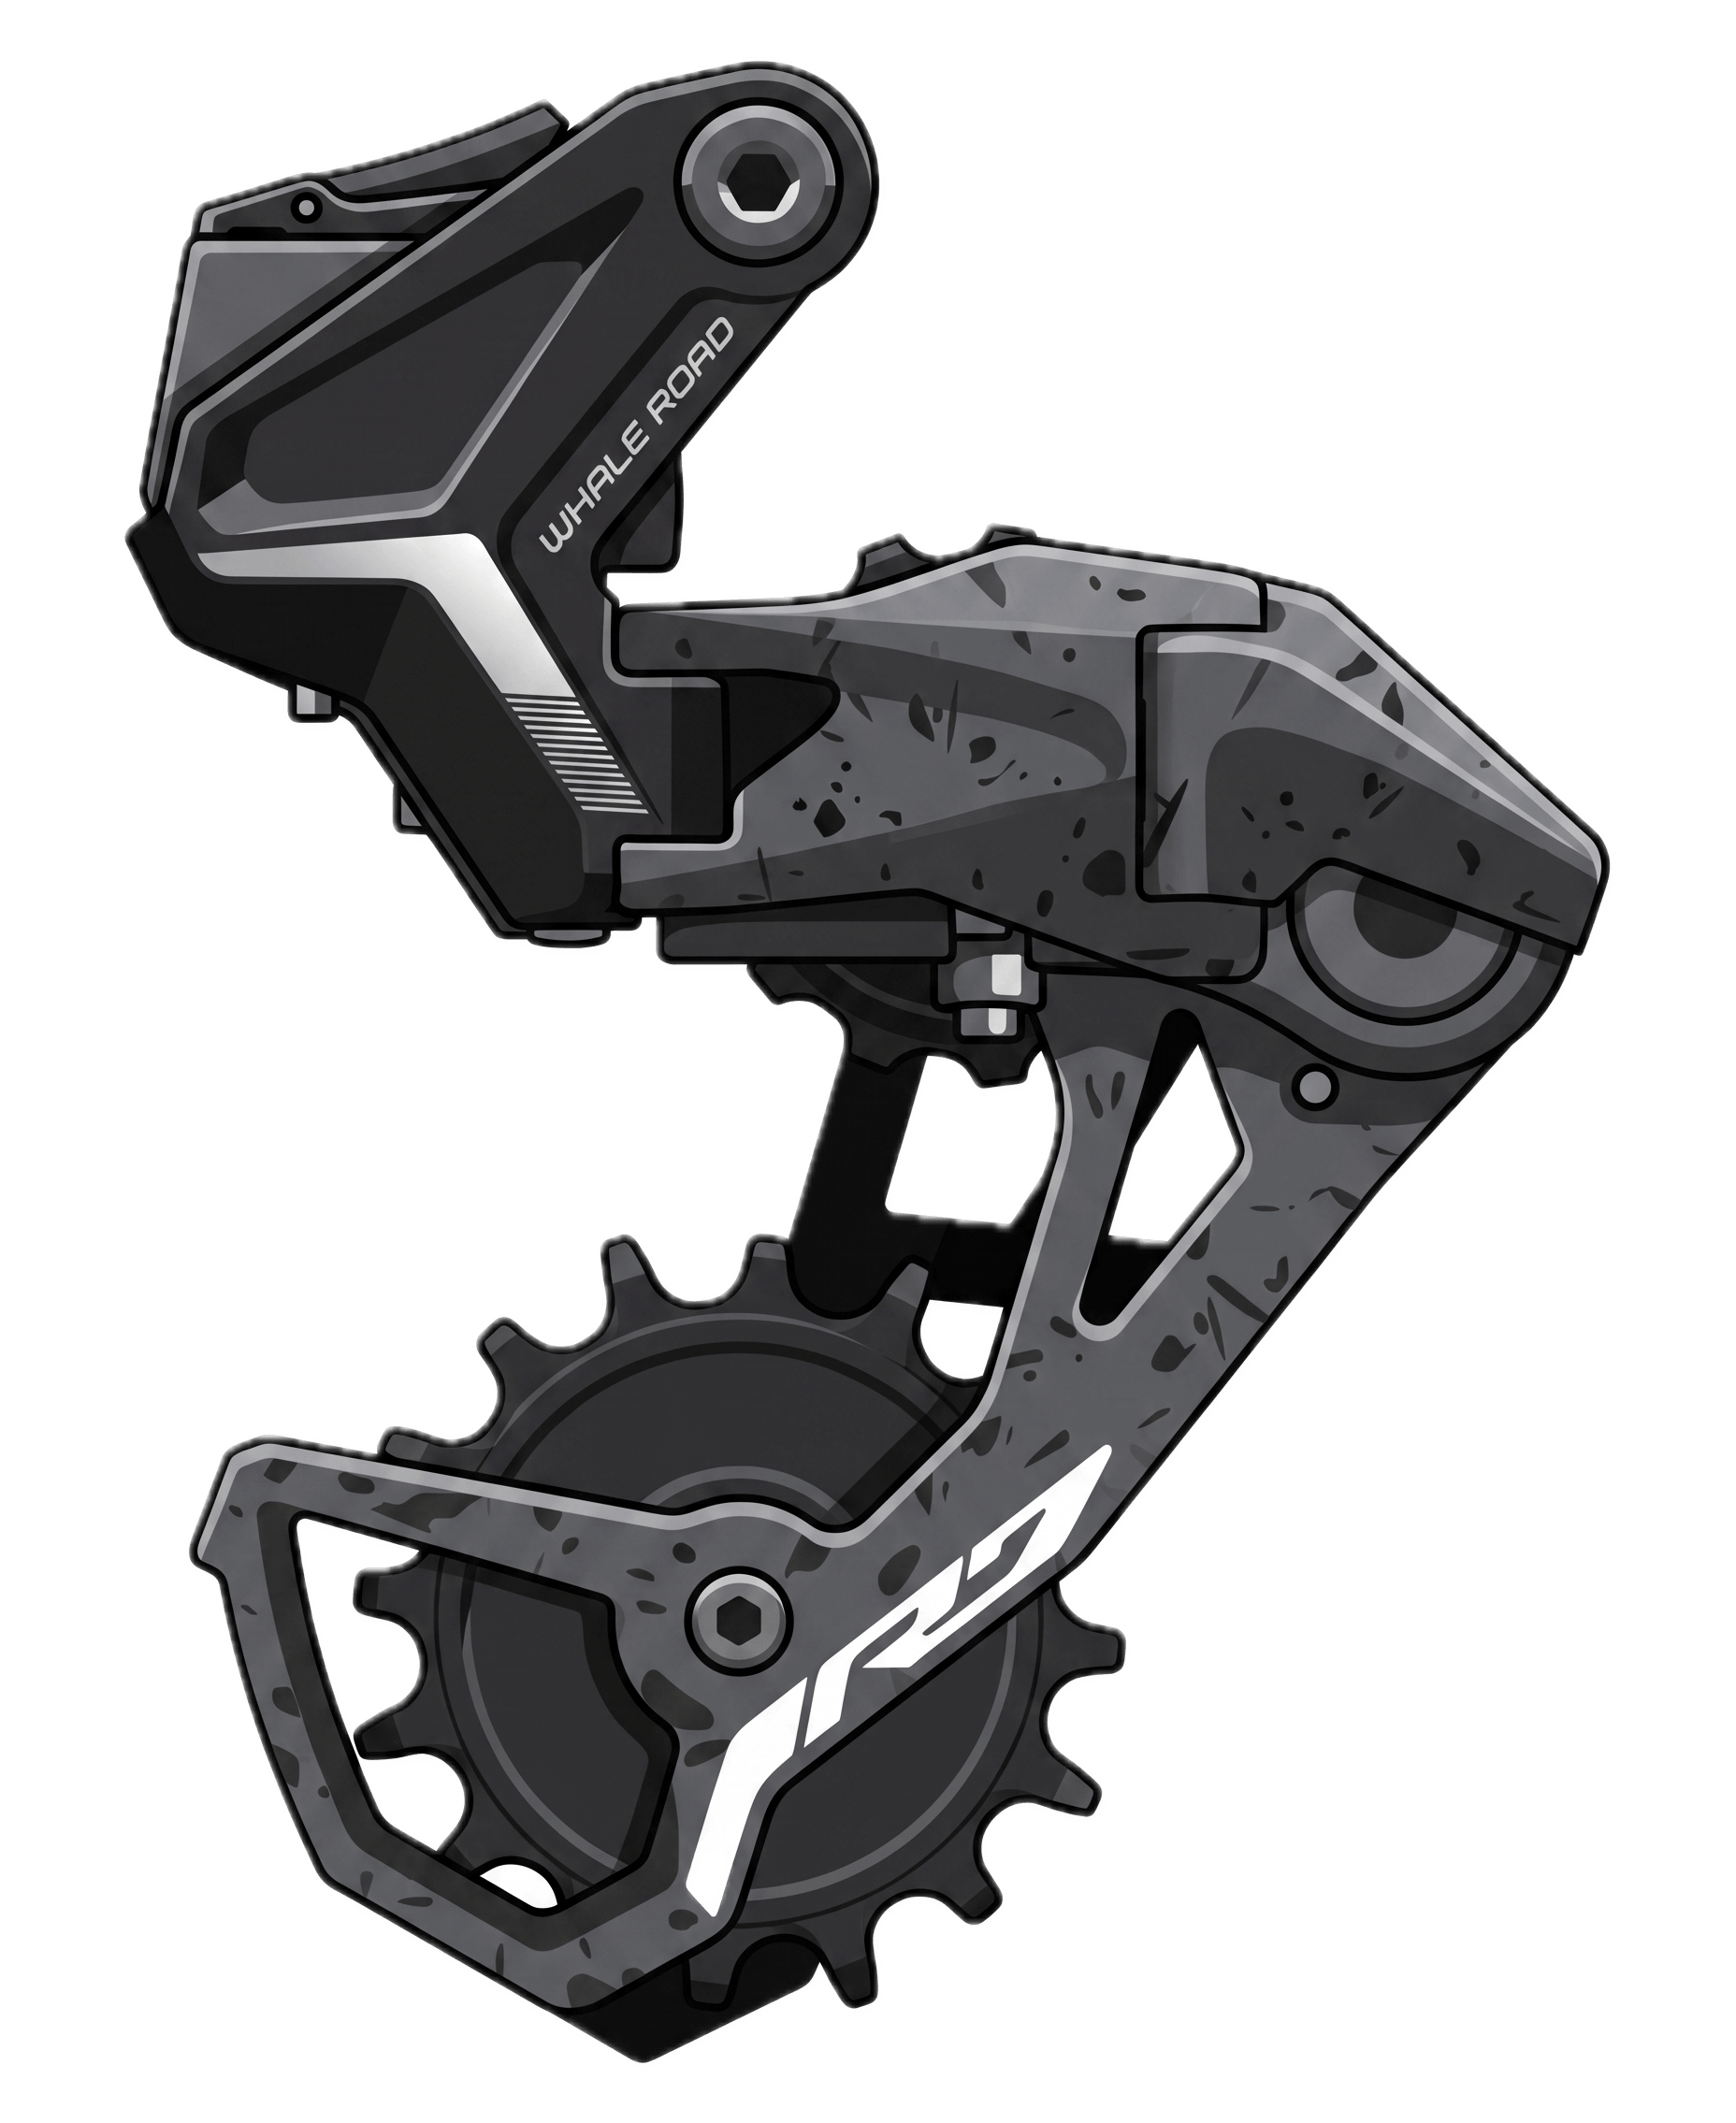 Rear Derailleur
 Shifter
Open WHALEROAD APP
Open the WHALEROAD app, tap Get Started, and make sure your phone's Bluetooth is turned on.
Pair Rear Derailleur
Long-press the rear derailleur function button for 5 seconds until the LED flashes green. The app will auto-detect it — confirm to connect.
Add Shifters in APP
In the app, go to Manage Device and select Add Shifters.
Pair Shifter(s)
Long-press a shifter function button for 5 seconds until the LED flashes green. The app will auto-detect it — confirm to connect. Repeat for the second shifter.
Verify & Complete
Check that the app shows all components as connected. Press a shifter button to confirm the derailleur shifts. Pairing complete!
Your R7 shifters and rear derailleur are already paired at the factory. Use this guide only if you need to add or re-pair components.
Make sure the rear derailleur battery is charged. Low battery is the most common cause of pairing failure.
Critical Safety Warnings
Never Squeeze the Lever Dry
Pressing the brake lever without a rotor or pad spacer installed will over-extend the pistons, causing leaks or failure to retract. Always keep the plastic pad spacer in the caliper during installation.
Never Mix Brake Fluids
Use only compatible mineral oil from a reputable bicycle brake manufacturer. DOT fluid or non-specified oils are strictly prohibited. Even different brands of mineral oil may be incompatible—keep bleed tools separated accordingly.
Olive Head Is Single-Use
Once tightened, the olive head cannot be reused. If you need to disconnect the hose, cut off the old fitting and replace it with a new one.
Do Not Overtighten the Rear Derailleur
The rear derailleur mounting bolt torque is 12 N·m. Excessive torque can strip the threads on an alloy hanger.